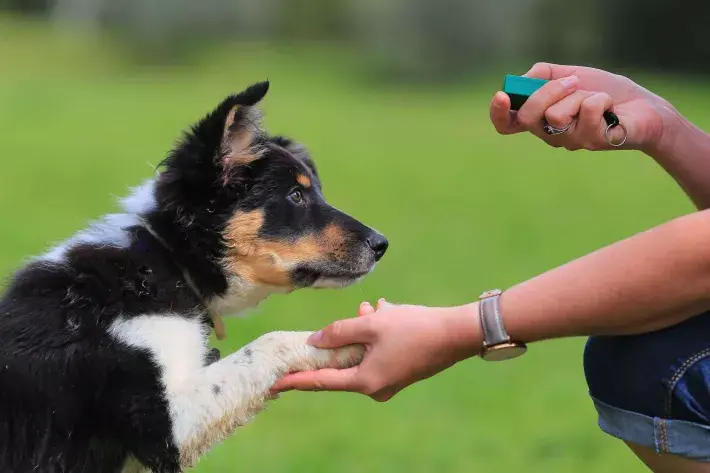
That’s Not Yours!

Teaching a reliable “leave it” with our dogs is not only useful for saving your dinner from becoming your dog’s dinner - it can also save your dog’s life. Dropped medication, poisonous plants, wild animals, gross smelly things to roll in, the list goes on…
What does “leave it” mean to your dog? Actually, it means nothing until you train your dog to understand the cue … However, once trained, “leave it” means whatever your dog is thinking about taking, eating, chasing or rolling in - Leave it alone! A very useful concept for your dog to understand.
Step 1:
Training your “leave it” begins with a foundation behavior of backing away from a wanted item (treat) in order to get it. Start by holding a treat in a closed fist directly on your dog’s nose - don’t let them get it! Keep that fist closed and try to not move your hand. When your dog gives up their attempts at getting the treat out of your hand - mark that moment (click or verbal YES) and open your hand and give them the treat. This is a good time to introduce the cue “Take it” when you offer the treat.
Work this exercise until you see your dog is understanding the behavior. When you can predict the correct behavior of backing away, it’s time to add the cue LEAVE IT. As your dog is leaving the closed hand, cue LEAVE IT, then mark and reward. Your dog will need to hear the cue at least 25 to 50 times to pair the word with the behavior. This first step of “leave it” is your foundation. It is very important that this behavior is solid before moving to the next step. It can take a few days to weeks - it’s definitely worth the extra time!
Step 2:
Once you have taught your dog the cue “Leave it” means to back away from your closed hand, we advance the behavior to step 2! Place your treat in your open flat hand, cue your Leave it and then put your hand directly under the dog’s nose. It is important they are given the cue before you put the treat under their nose! If your dog dives on the treat, simply close your hand, then open it and try again (do not repeat your cue at this point and try hard not to pull your hand away). If your dog dives on the treat 3 times, go ahead and remove the treat and start the exercise again. Once this step is solid, it’s time to move to the floor!
Step 3:
Treat placed on the floor in front of the dog - use your foot or hand to block the treat if your dog dives for it and work this behavior until it’s super strong. Next part of step 3 is to toss the treat over your shoulder (after cuing leave it). If your dog does not chase the treat, they have a very good understanding of the words "Leave it" and it will start to transfer to things other than treats.
Tips:
Repeated failures will frustrate you and your dog, so if this happens during the process of training, go back a step for a bit before practice before moving to the next step
When working step 3, it’s a good practice to pick up the treat once the dog has left it, and deliver the reward to the dog by hand, rather than letting the dog self reward off the floor.
Introduce a check in (look away from the treat to your eyes) during step 3. Simply hold off your marker until the dog looks up at you before marking and rewarding. A nice way to say Please!